My First Custom Keyboard
So in the effort to make a physical bit of tech this summer, I eventually settled on making a ergo, spilt keyboard.
As a programmer, I tend to type a lot. After hearing about how some software devs develop issues like RSI, I wanted to be proactive with my typing posture.
I’ve seen some split boards before and they looked really cool.
While I’ve got no experience with microcontrollers, PCBs, or soldering; How hard can it really be?
Picking the parts

The biggest considerations for me were:
- Board design (num of keys, with/without diodes, layout)
- Switches (feel, sound, force needed, low profile?)
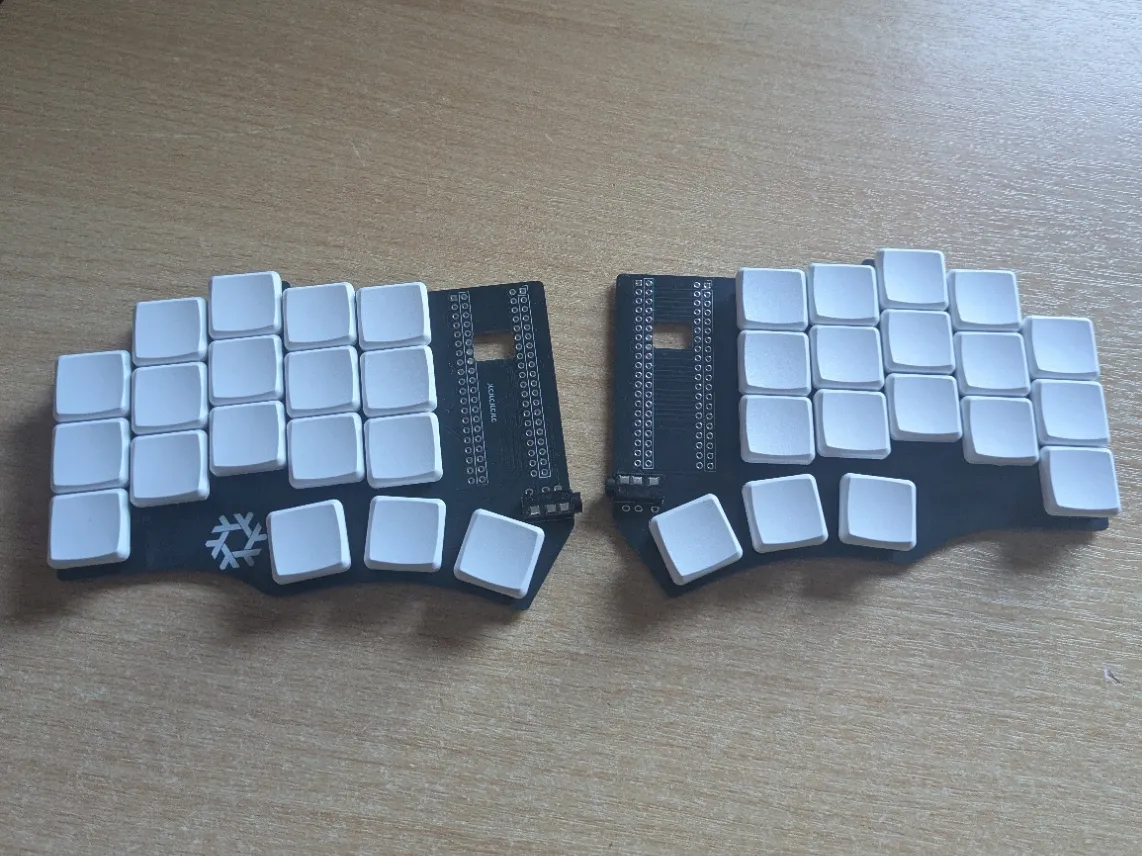
I settled on the Cantor-Remix, a 36 key diode-less split board, with Kailh Choc sunsets for the switches.
This met my goals of not using diodes (less to buy and solder), having three thumb keys per half, and being a split ergo board.
I chose the remix over the original as switches I bought came in packs of 10, and didn’t want to buy 50 switches just to have 8 left over, as the cantor has 42 keys.
I only edited the design to add a nix logo (I use NixOS btw) using KiCad, and ordered the PCBs from JLCPCB.
The rest I ordered:
- x40 Kailh Choc Sunset switches (mechboards)
- x2 PJ-320A audio jacks (ebay)
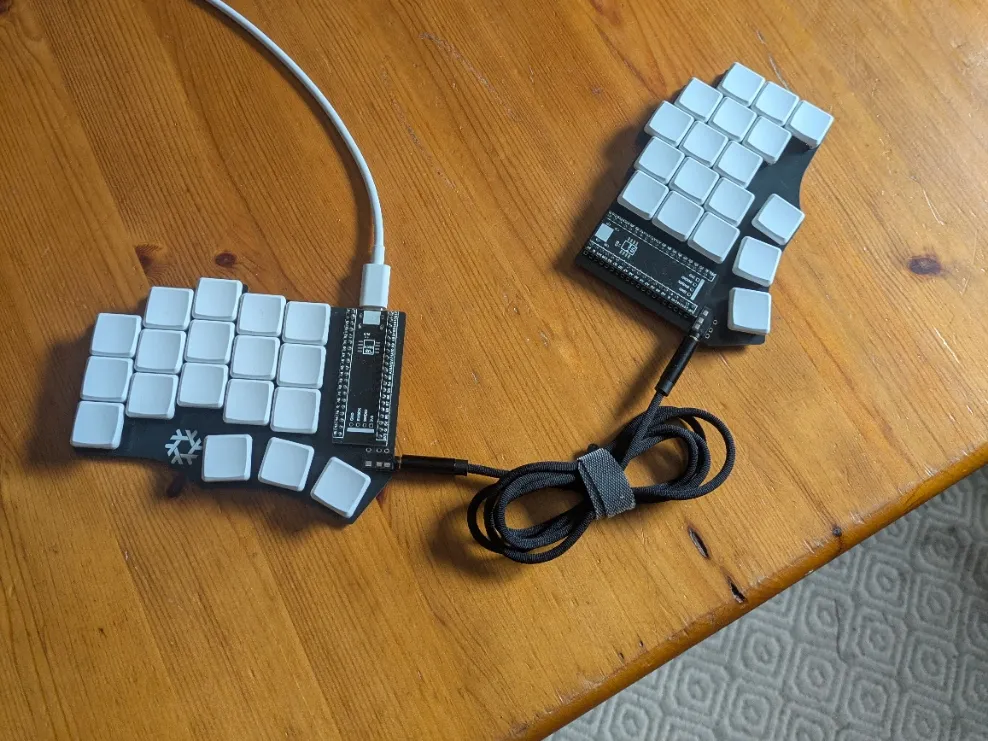
- TRRS cable (ebay)
- x2 STM32F401 blackpill microcontroller (ebay)
I originally bought a pair, however they were slightly too big; some boards have slightly more spacing between the pin holes and the chip itself. So if ordering yourself, look for the smaller version.
Building
Actually read the build guide — it’s there for a reason; I soldered the pins in the wrong holes :P.
The soldering isn’t really that hard, luckily I had an experienced friend to do microcontroller pins as there isn’t much room for error.
Flashing
I found a shell.nix in this repo, so I used this to compile the firmware locally.
This took absolutely ages for me, as my laptop isn’t the fastest, so either have a fast machine, time, or use GitHub Actions.
I was shocked at how easy it is to flash a board, just putting the boards in
bootloader mode, and just doing qmk flash -kb cantor -km manna-harbour_miryoku.
I didn’t change any settings; however I believe it is made for a US keyboard.
As I’m in the UK, I need to remap some of the symbol keys, such as @ and #. Although I haven’t done this yet, as I’m still learning the alpha keys, and not daily driving it.
Actually using it
With the board working, I’ve been learning colemak dh. I’ve been using keybr to learn the layout, an incredible site that I hate. Keybr is really good, because it doesn’t let you unlock more keys until you get fast enough with the last one. It’s incredibly frustrating, but it really works to get better at those worse keys. I’m up to 35-40 WPM, but I’ve mostly only practiced the alpha layer.
The ortholinear design is an odd feeling at first, but you quickly get used to it.
The nicest thing I’ve noticed about the board is using any non alpha keys; with traditional boards, you have to reach your fingers up for numbers or functions, but with layers and fewer keys, everything is just one away from the home row, which is just a bit less disruptive to your flow.
The sunset switches are nice, I’m coming cherry mx browns, so still having the tactile feel on the low profile keys is great, but they are quite a bit quieter, which means I can take this board with me and not be a nuisance.
foldl(+:, 0, all) - To sum it all up
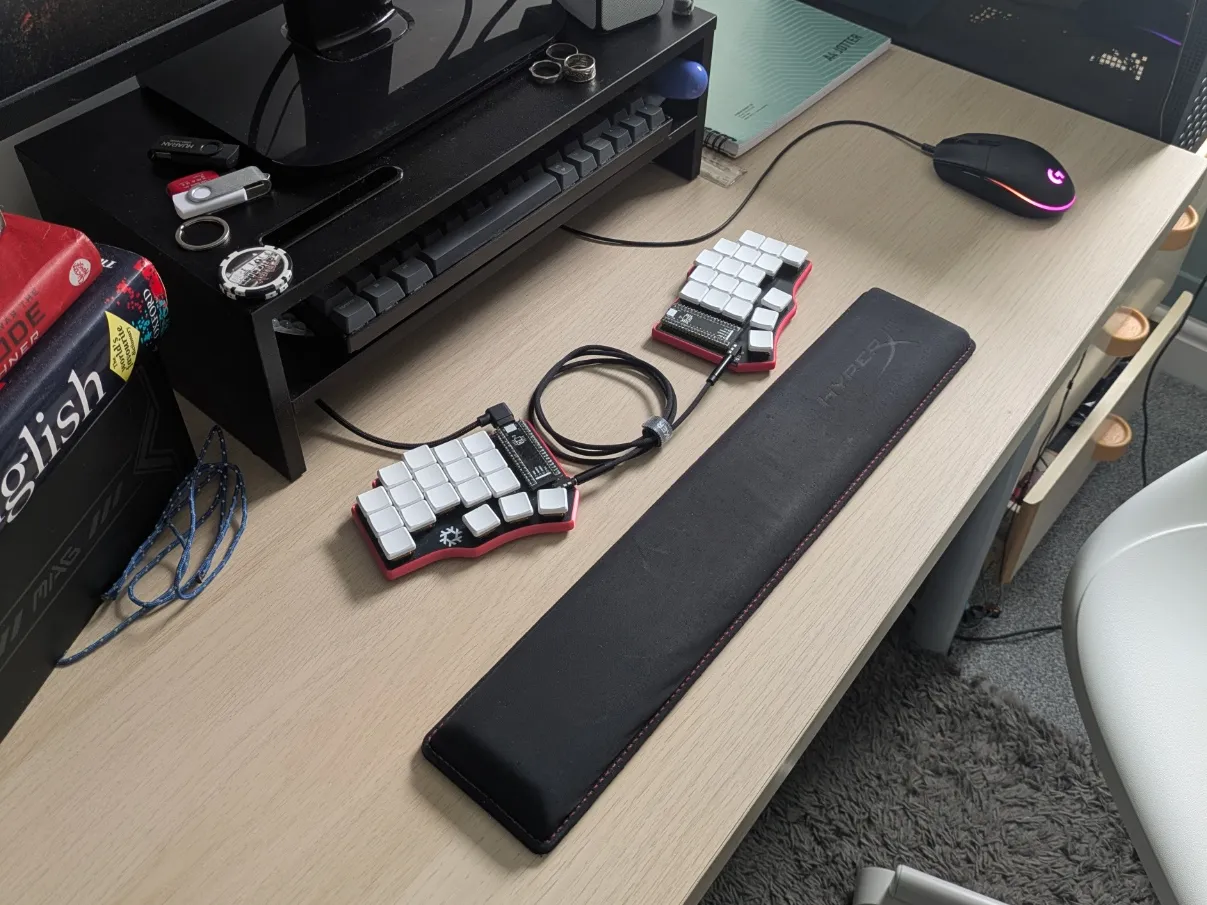
I’m really satisfied with what I’ve built.
I usually work with software so doing hardware projects are always fun.
This was a bit more ambitious than my last hardware project, making a second monitor from a laptop screen, so maybe the next project can be another step up.